Search Thermo Fisher Scientific

Online and downloadable materials for Qubit Fluorometric Quantitation
The manuals, brochures, application notes, downloads, demos, videos, and other resources in this section will help you get the most out of your Qubit Fluorometer.
Documentation and literature
Qubit Flex SAE Software for 21 CFR Part 11 specification sheet
Qubit fluorometers and assays brochure
RNA and DNA quantification brochure
Qubit assay information sheets
Qubit fluorometric quantitation vs spectrophotometer measurements
Qubit Flex application note
Qubit assays
Pipetting best practices
Endotoxin Detection
Demos and videos
Register your instrument
Firmware updates
Download the latest firmware for Qubit 4 and Qubit Flex Fluorometers here.
Qubit Flex SAE Software Solution for 21 CFR Part 11 Compliance Support
Software Component Files & General Instructions
To implement the Qubit Flex SAE firmware Solution to support the technical 21 CFR Part 11 compliance portion on the Qubit Flex Fluorometers, the following components need to be installed, activated, and communicating with each other.
The Qubit Flex SAE Software Solution for 21 CFR Part 11 Compliance Support consists of:
- SAE Software: used to configure the Security, Audit and Electronic-signature settings for Qubit Flex Fluorometer. SAE software consists of
- the SAE Administrator Console (installed on a server with a static IP address)
- the Qubit Flex SAE Application Profile
- SAE License: Used to activate the SAE settings for the Qubit Flex Fluorometer
- SAE Mode: Qubit Flex Fluorometer firmware (version 1.7.0 or later) that is remotely connected with the SAE Administrator Console and activated using the SAE License Key File
For more details on these components, please refer to the Qubit Flex SAE Software Solution for 21 CFR Part 11 Support.
SAE Software
To download the SAE Administrator Console Software and the Qubit Flex Application profile, please click the relevant download buttons below. Release notes are also available for the SAE Administrator Console Software.
IMPORTANT: The SAE Administrator Console Software only needs to be downloaded by the personnel who manages the security, audit, and e-signature procedures within the institution. The Qubit Flex Application Profile should also be downloaded only by the personnel who will utilize the SAE Administrator Console software.
SAE License
A Qubit Flex SAE License MUST be purchased to obtain a license key file that will enable the SAE Mode on the Qubit Flex instrument. Visit the product page or contact your Thermo Fisher Scientific sales representative for more information.
Instructions to download License Key Files can be found in the SAE Administrator Console User Guide for Qubit Flex Fluorometer.
SAE Mode
The SAE Admin Console software allows 21 CFR Part 11 support through enablement of the SAE Mode setting on the Qubit Flex instrument.
Refer to the SAE Administrator Console User Guide for Qubit Flex Fluorometer for further instructions to enable SAE mode on the Qubit Flex instrument.
Service Support
Qubit Flex Fluorometers offer installation qualification (IQ) and operational qualification (OQ) services performed by our manufacturer-trained and -certified field service engineers (FSEs). This service will ensure that the Qubit Flex is properly installed and functioning according to manufacturer’s specifications.
In addition to the instrument IQ/OQ, an additional service to perform IQ/OQ for the Qubit Flex SAE Software can be completed during the same visit. The SAE IQ/OQ will ensure that the SAE Software is properly installed and that the connection to the instrument can be made. Further, it will include testing that verifies proper functionality of the SAE Software. The SAE IQ/OQ can only be completed in conjunction with an instrument IQ/OQ.
Frequently asked questions (FAQs)
Here are frequently asked questions and answers about Qubit Fluorometers and Qubit fluorometric quantitation. We invite you to contact Technical Support if you have additional questions or need more information.
Comparison to UV absorbance
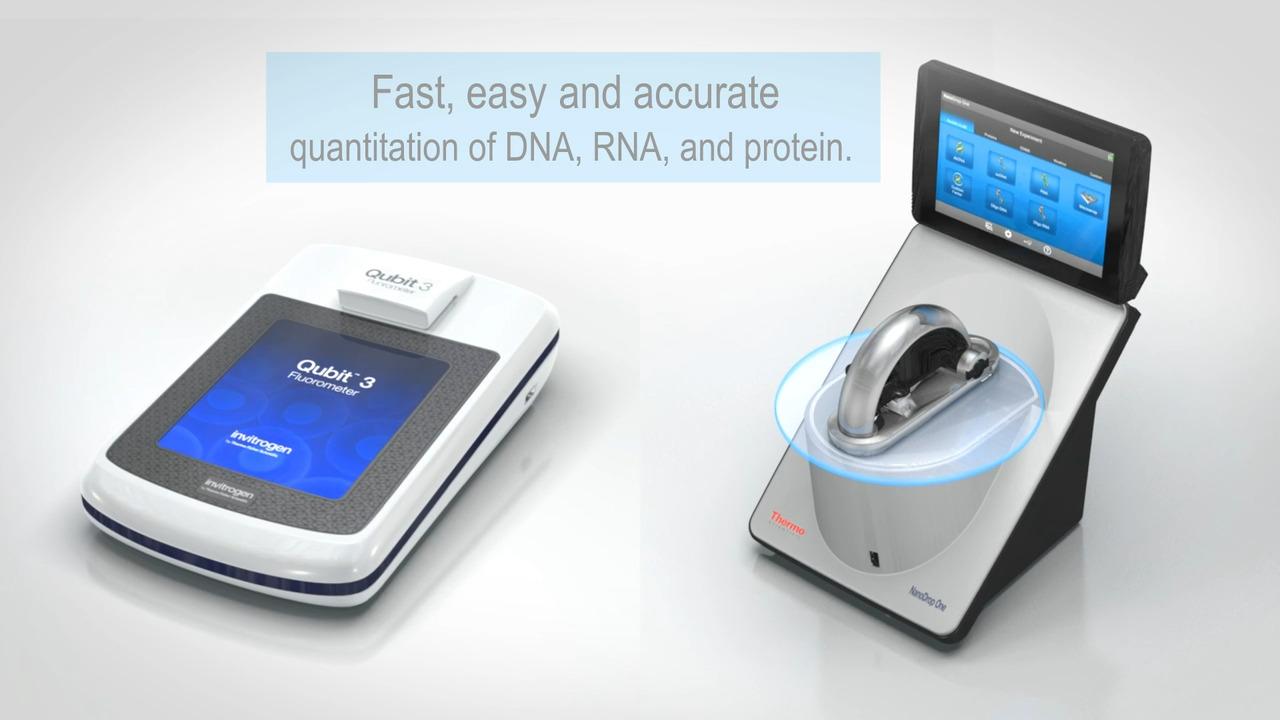
NanoDrop instruments use UV absorbance to measure DNA and RNA concentrations. Absorbance-based measurements have limitations in distinguishing between DNA, RNA, and free nucleotides, which absorb at 260 nm.
Qubit assays are fluorescence-based. They are designed to quantify only the target analyte. Additionally, fluorescence-based nucleic acid quantification provides a more sensitive dynamic range than absorbance-based instruments.
When used with Qubit assays, Qubit fluorometers can accurately measure low concentrations of sample, while NanoDrop spectrophotometers can detect the presence of common contaminants.
UV absorbance readings measure anything that absorbs at 260 nm, including DNA, RNA, protein, free nucleotides, and excess salt. Qubit Fluorometric Quantitation measures only the molecule you are interested in, so the number is almost always lower than the A260 reading.
General technical questions
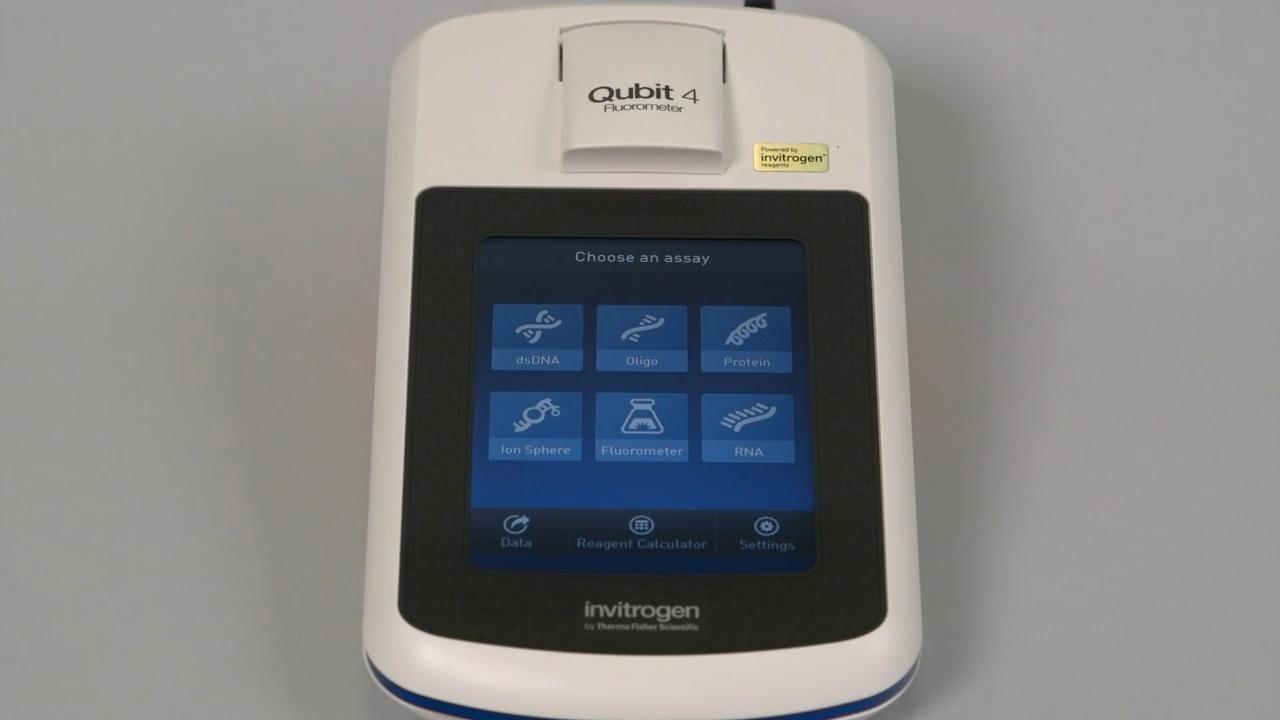
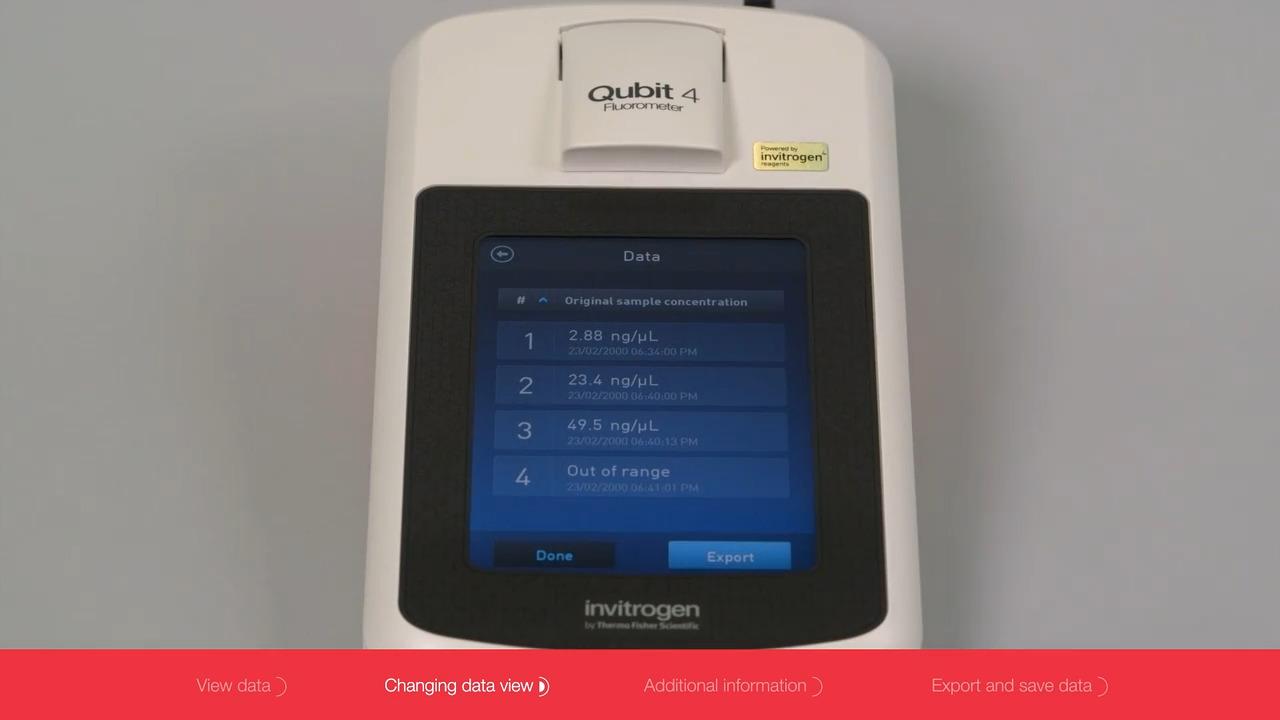
The Qubit 4 Fluorometer has a large, robust color touch screen for seamless workflow navigation and can save data to a USB drive, through a USB cable connected directly to a computer, or by Wi-Fi connection to the Thermo Fisher Connect cloud-based network for efficient data management. Also, the instrument can be personalized to show only frequently used assays, to add new assays (including user-defined assays created with the MyQubit assay design tool), and to display the language of your choice including English, French, Spanish, Italian, German, simplified Chinese, and Japanese. Finally, the Qubit 4 Fluorometer has a dedicated Validation System Assay available to test instrument performance.
No, you can calibrate only in the tube spaces where the samples will be run. You may need to upgrade your Qubit Flex Fluorometer firmware to version 1.5.0 or newer to enable this option.
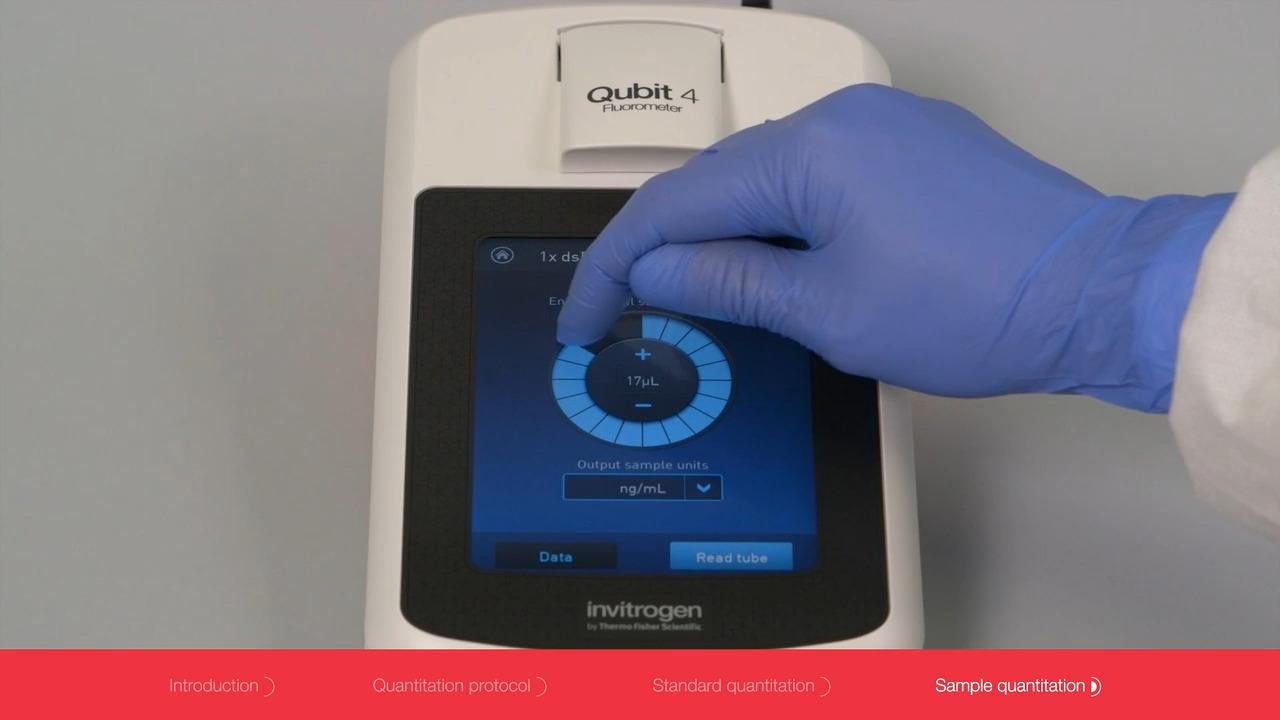
For each assay, you have the choice to run a new calibration or to use the values from the previous calibration. When you first use the instrument, you perform a new calibration each time. As you become familiar with the assays, the instrument, your pipetting accuracy, and significant temperature fluctuations within your laboratory, you can determine your level of comfort with using the calibration data stored from the last time the instrument was calibrated. We do recommend running a new calibration curve every time you prepare a new working solution.
The diluted standards can be used for up to 3 hours if using the same working solution for the samples.
To adhere to cybersecurity legal standards, the latest firmware for Qubit 4 and Qubit Flex Fluorometers requires users to log in to access certain menu options, such as Instrument Settings, Software Update, and System Verification. When not logged into a user profile, these menu options will appear to be inactive.
Quantifying protein and nucleic acids
We have seen a 20–30% difference. For the different forms of plasmid DNA, we recommend using a standard that more closely represents the composition of the plasmid DNA in the sample.
The Qubit Protein Assay is compatible with very small amounts of detergent. See Table 2, “Contaminants tolerated by the Qubit Protein Assay,” on page 6 of the Qubit Protein Assay Kit product manual for specific amounts. The Qubit Protein BR Assay is compatible with samples that contain up to 5% detergents.
Device questions
Qubit 4 and Qubit Flex System Verification Assay Kits offer a fast, easy-to-use, reagent-based method to test the internal components of a Qubit Fluorometer. Perform the system verification when a problem with the instrument is suspected. It is not necessary to perform the verification regularly.
There are two LED light sources in the Qubit 4 and Qubit Flex Fluorometers. They are expected to last 5 years.
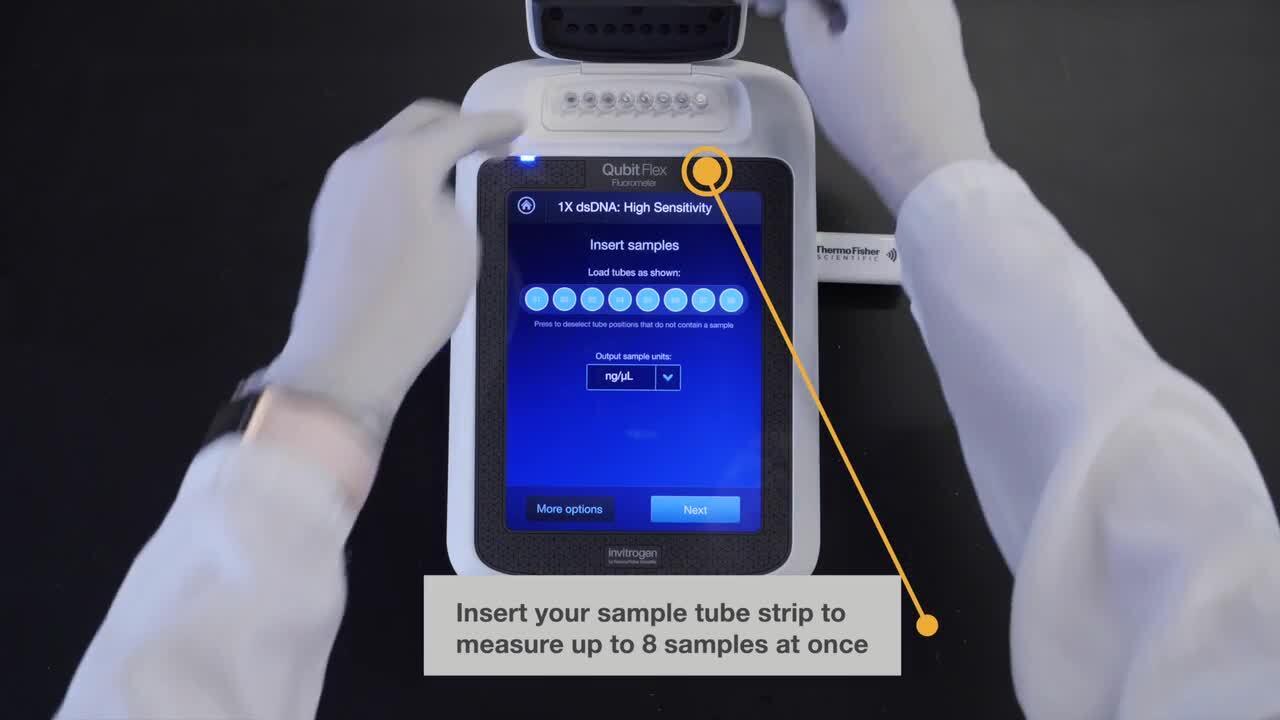
Use thin-wall, clear 0.5 mL PCR tubes for the Qubit 4 instrument. For the Qubit Flex Fluorometer, use the Qubit Flex Assay tube strips, which come as 8 x 200-µL thin-walled polypropylene tubes with very low fluorescence.
How to create custom MyQubit assays (Qubit 3.0 and 4)
MyQubit functionality allows you to create new assays for the Qubit 3.0 and 4 Fluorometers in minutes, using parameters that can easily be uploaded to the instrument using a USB drive, without changing the existing assays. Your new assays can be optimized versions of existing fluorescence-based assays or can be completely novel.
To create custom MyQubit assays for the Qubit 2.0 Fluorometer, see Resources for previous Qubit models.
Step 1: Collect data and define constants for MyQubit assays
Collecting the data. Prepare samples using your assay reagents and read them in Fluorometer mode on the Qubit instrument. Fluorometer mode allows you to manually select the excitation light source of your choice, blue LED or red LED, while reading raw fluorescence values in both the green and far red emission channels. The values can be used to generate data to develop your new assay.
Defining the constants. We recommend that all users new to developing MyQubit assays use the MyQubit EZ Guide Excel spreadsheet on your computer to process your Fluorometer mode data and generate the parameters for your assays. The Guide allows you to enter Fluorometer mode readings collected from samples of known concentrations and then calculates constants that can be used to define the shape of the standard curve that will be used to calibrate the new assay.
Simply enter the fluorescence values obtained in Fluorometer mode on the Qubit Fluorometer, along with the corresponding concentrations of the analyte. Once replicate data has been entered into the spreadsheet, adjust the N and K parameters to optimize the curve fit algorithm. Your goal is to adjust N and K to achieve the lowest possible Quality score as shown in the example.
Step 2: Define your assay with the MyQubit Assay Design Tool
You can use the MyQubit Assay Design Tool to create the MyQubit .qbt file that defines your new assay. You can then upload the .qbt file to run on your Qubit 3.0 or 4 Fluorometer.
In the MyQubit assay design tool, you enter the parameter values for your custom assay as calculated on the MyQubit EZ Guide spreadsheet. Fields may appear or disappear as you select values. Hover the cursor over the help icons for guidance on filling out the fields in the tool.
Step 3: Upload your assay to your Qubit 3.0 or 4 Fluorometer
To upload your new assay .qbt file, you can import it to your instrument from a USB drive or directly from an external computer via a USB cable. Your Qubit Fluorometer will guide you through the process of uploading new assays. New assays can be permanently uploaded without affecting existing assays.
Import assays from a USB drive
1. Transfer the MyQubit assay (.qbt) file(s) you wish to install to the root (top-level) directory of a USB drive.
Do not download the .qbt file(s) to a folder in the USB drive.
2. Insert the USB drive containing the new assay file(s) into the USB port of the Qubit Fluorometer.
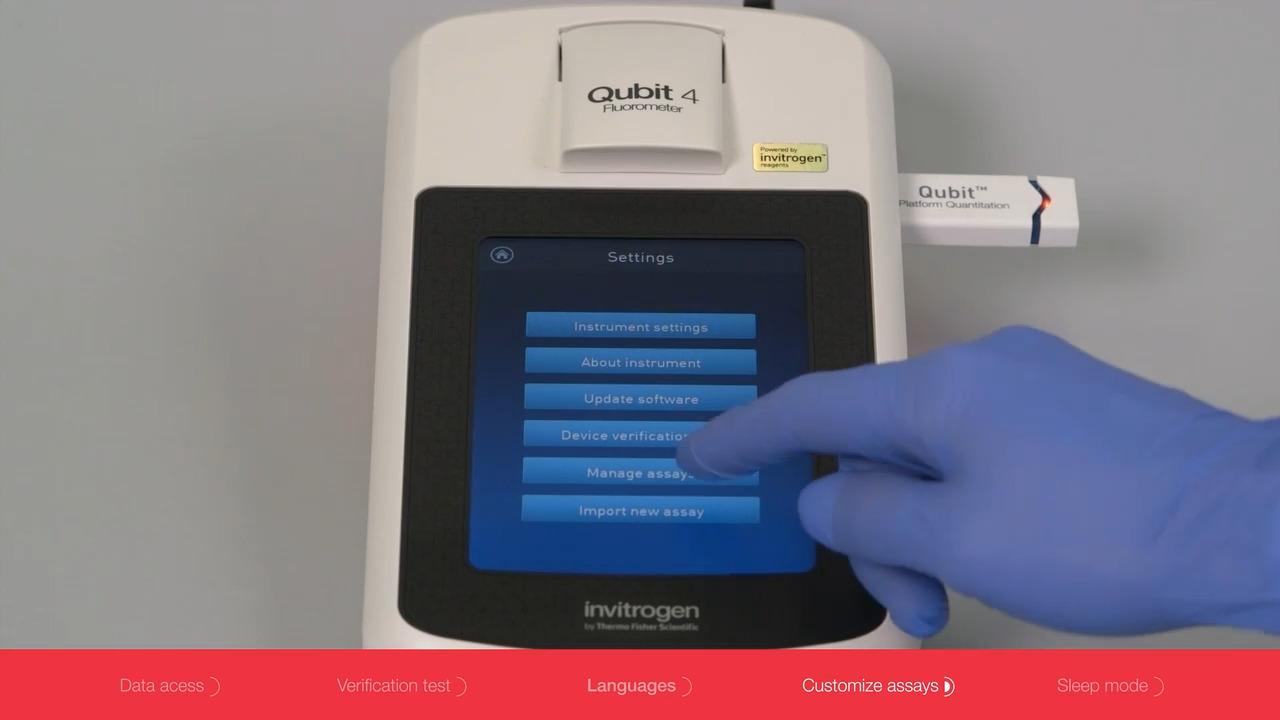
3. Go to the Settings screen and touch Import new assay. The instrument searches the USB drive for assay file(s) and displays their names on the Import new assay screen.
4. Touch to select the assay(s) you wish to import. (Touch an assay again to deselect it.) You can select one or more assays to import.
5. Touch Next. The Import new assay screen displays the name of the first assay being imported and lists the destination folders where you can save them. Each folder can hold up to 9 assays.
6. Select the destination folder for the new assay and touch Save. You’ll see your choice on the Verification screen (step 8).
Alternatively, touch New folder to create a new destination folder (step 7).
7. On the New folder screen, touch the New folder text field. On the keyboard that pops up, type a folder name of up to 11 characters. The name can include spaces except at the beginning or end.
Touch Enter, and then touch Done to return to the Import new assay screen. The new folder will appear in the folder list.
Select the new destination folder and touch Save. You’ll see your choice on the Verification screen.
8. On the Verification screen, touch Done to complete the import. If you’re importing only one assay, you’ll return to the home screen.
If you’re importing multiple assays, you’ll return to the Import new assay screen where you can select the destination folder for the next assay to be imported.
Import assays from a computer
You can transfer MyQubit assay (.qbt) files directly from your computer to your Qubit 3.0 or 4 Fluorometer using a USB cable.
Note: The USB cable must remain connected to both the Qubit Fluorometer and the computer throughout this procedure.
- If necessary, download the MyQubit assay (.qbt) file to your computer.
- Connect the Qubit Fluorometer to your computer using a USB cable. Your computer should recognize the fluorometer as an external device.
- Copy and paste (or click and drag) the .qbt file(s) you wish to import to the Qubit instrument window on your computer.
- Note: The assays will not be visible on the Qubit Fluorometer until you perform the next step.
- Go to the Settings screen on the Qubit Fluorometer and touch Import new assay. On the Import new assays screen, you’ll see the names of assays found on the computer.
- Follow steps 4–8 of the import procedure described in Import assays from a USB drive above.
Step 4: Run your assay
Once uploaded, your new MyQubit assay is ready to use. Refer to the Qubit 4 product manual for a detailed description of instrument function and assay workflow.
Connecting to a Windows® computer (Qubit 3.0 or 4)
Connecting a Qubit 3.0 or 4 Fluorometer to a computer running the Windows® operating system requires installation of a driver. Download both the driver and installation instructions below.
Citations
2022
- Khan SA, Gudeta DD, Chon J, et al. Whole-genome sequences of nine hospital-associated methicillin-susceptible Staphylococcus aureus strains." Microbiol Resour Announc. 2022; 11: e0118521. PubMed
- Lopez D, Roberts J, Bourgeois M, et al. Infection clusters can elevate risk of diagnostic target failure for detection of SARS-CoV-2. PLoS one 2022; 17: e0264008. PubMed
2021
- Kaspar JR. Complete genome sequence of Streptococcus oralis 34." Microbiol Resour Announc. 2021; 10: e00760–21. PubMed
- Ng DL, Granados AC, Santos YA, et al. A diagnostic host response biosignature for COVID-19 from RNA profiling of nasal swabs and blood. Sci adv. 2021; 7: eabe5984. PubMed
- Redila CD, Prakash V, Nouri S. Metagenomics analysis of the wheat virome identifies novel plant and fungal-associated viral sequences. Viruses. 2021; 13, 2457. PubMed
2020
- Li J, Zhao S, Lee M, et al. Reliable tumor detection by whole-genome methylation sequencing of cell-free DNA in cerebrospinal fluid of pediatric medulloblastoma. Sci Adv. 2020; 6: eabb5427. PubMed
- Lu R, Zhao X, Li J. Genomic characterisation and epidemiology of 2019 novel coronavirus: implications for virus origins and receptor binding. Lancet. 2020; 395: 565–574. PubMed
- Mondelo-Macía P, Rodríguez-López C, Valiña L, et al. Detection of MET alterations using cell free DNA and circulating tumor cells from cancer patients. Cells. 2020; 9: 522. PubMed
- Wright K, de Silva K, Purdie AC, Plain KM. Comparison of methods for miRNA isolation and quantification from ovine plasma." Sci Rep. 2020; 10: 825. PubMed
2019
- Hosein AN, Huang H, Wang Z, et al. Cellular heterogeneity during mouse pancreatic ductal adenocarcinoma progression at single-cell resolution." JCI Insight. 2019; 5: e129212. PubMed
- Krasnenko AY, Stetsenko IF, Klimchuk OI, et al. Ultra-low coverage sequencing as the most accurate library quantification. SpringerLink
2018
- Zingg D, Debbache J, Peña-Hernández R, et al. EZH2-mediated primary cilium deconstruction drives metastatic melanoma formation." Cancer cell. 2018; 9: 69–84. PubMed
- Ponti G, Maccaferri M, Manfredini M, et al. The value of fluorimetry (Qubit) and spectrophotometry (NanoDrop) in the quantification of cell-free DNA (cfDNA) in malignant melanoma and prostate cancer patients. Clin Chim Acta. 2018; 479: 14–19. PubMed
Additional references
- Garcia-Elias A, Alloza L, Puigdecanet E, et al. Defining quantification methods and optimizing protocols for microarray hybridization of circulating microRNAs. Sci Rep. 2017; 7: 7725. PubMed
- Kumar D, Panigrahi MK, Suryavanshi M, Mehta A, Saikia KK. Quantification of DNA extracted from formalin fixed paraffin-embeded tissue comparison of three techniques: Effect on PCR efficiency." J Clin Diag Res. 2016; 10: BC01–BC03. PubMed
- Mardis E, McCombie WR. Library quantification: fluorometric quantitation of double-stranded or single-stranded DNA samples using the qubit system. Cold Spring Harb Protoc. 2017; 2017: pdb-prot094730. PubMed
- Simbolo M, Gottardi M, Corbo V, et al. DNA qualification workflow for next generation sequencing of histopathological samples. PLoS ONE. 2013; 8: e62692. PLOS
Educational resources
Educational resources for Qubit Fluorometric Quantitation include online materials on nucleic acid and protein quantification and analysis.
Resources for previous Qubit models
Find manuals, brochures, application notes, downloads, demos, videos, and other resources to help you get the most out of your older Qubit Fluorometer.
For Research Use Only. Not for use in diagnostic procedures.
